How to Charge a Car Battery Quickly and Easily at Home
Before you start charging your car battery, gather the right tools and personal safety gear. Having everything on hand will make the process smoother and safer.
Knowing how to charge a car battery can save you time and money. This guide covers essential tools, safety precautions, and a straightforward process for charging your car battery effectively at home.
- Essential Tools and Safety Gear: Before you start charging your car battery, gather the right tools and personal safety.
- How to Charge a Car: Charging a battery involves a few straightforward steps..
- Understanding Charging Methods: Smart Chargers: Choosing the right charger can significantly affect how efficiently and safely your battery charges..
- Charging Time and Amperage: What: Understanding how charging time correlates to amperage settings is key for effective charging..
- Common Mistakes That Cause Battery: Even experienced DIYers can make mistakes when charging batteries..
Essential Tools and Safety Gear for Charging a Car Battery
Before you start charging your car battery, gather the right tools and personal safety gear. Having everything on hand will make the process smoother and safer.
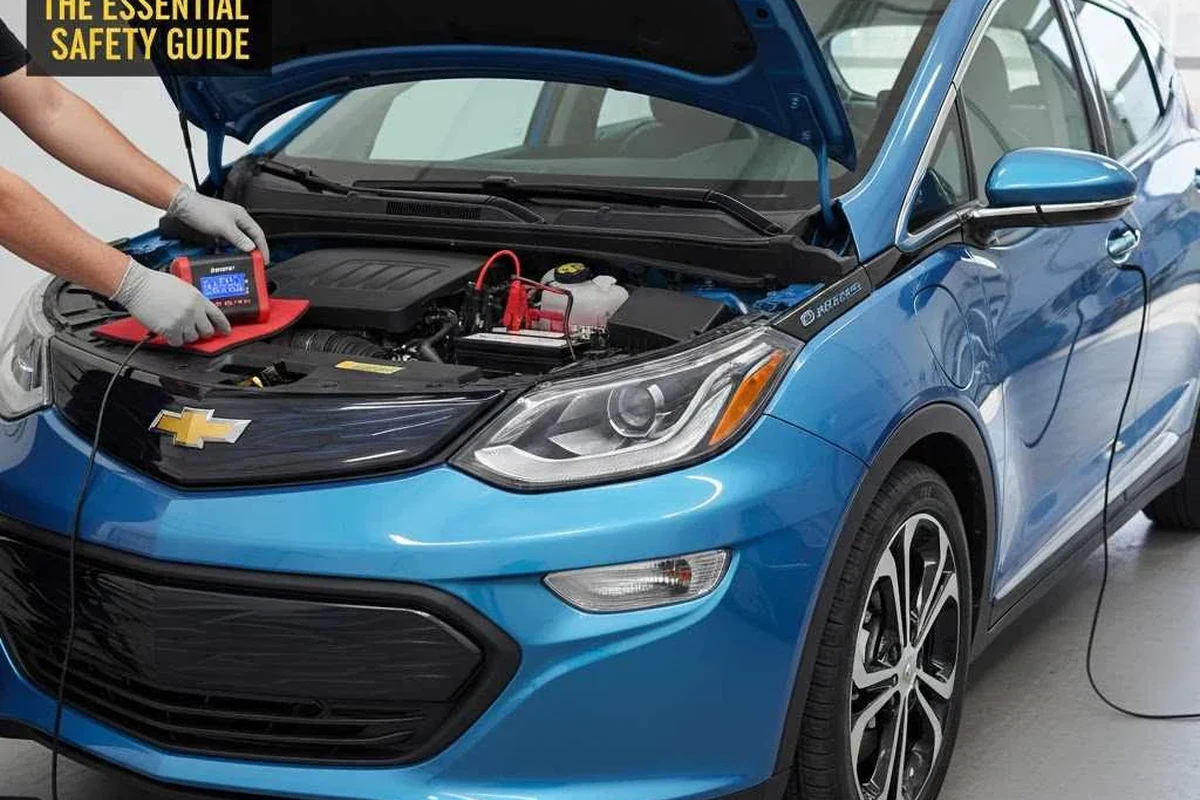
Gathering the Right Equipment
- Battery Charger: Choose a charger compatible with your battery type (lead-acid, AGM, or lithium).
- Jumper Cables: Useful for jump-starting if the battery is extremely low.
- Multimeter: To check battery voltage and health.
- Safety Goggles: Protects your eyes from battery acid or sparks.
- Gloves: Prevents skin contact with acid and provides a better grip.
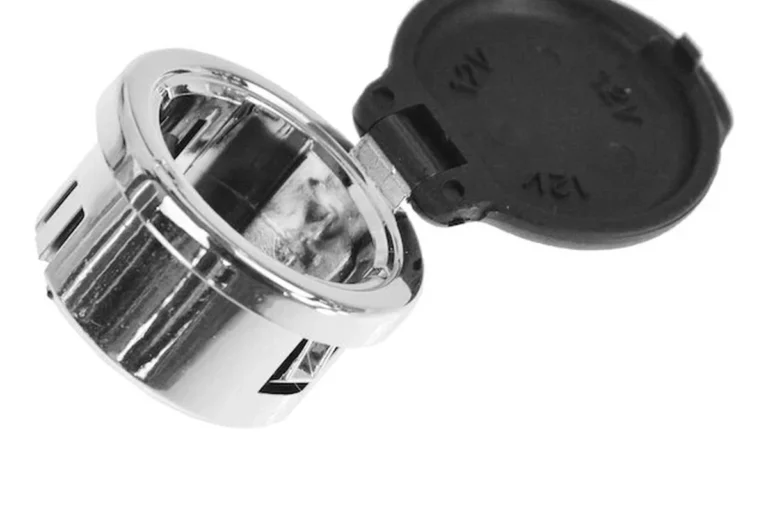
Wearing safety gear is essential to prevent accidents and injuries while working with batteries, which can be hazardous. For related context, read 12 volt accessory power outlet socket.
Jump starter or charger, charged ahead of time, safety glasses and gloves, and the owner manual open to the battery and jump-start page.
How to Charge a Car Battery: A Step-by-Step Guide
Charging a battery involves a few straightforward steps. Following them carefully will help ensure the job is done right and safely.
Preparing to Charge
Before connecting any chargers, perform some initial checks. This preparation is crucial for safety and efficiency.
- Ensure the Battery is Safe to Charge: Look for any signs of damage, leaks, or swelling.
- Verify Battery Type: Check if it’s a lead-acid, AGM, or lithium battery as this affects the charging method.
- Check for Corrosion: Inspect the terminals for corrosion which can impede connection.
Always refer to your vehicle owner manual for specific charging instructions related to your battery type.
Connecting the Charger
Connecting the charger correctly is critical for safety and effectiveness. Follow these steps carefully:
- Turn Off the Charger: Ensure the charger is off before making connections.
- Connect the Positive Clamp: Attach the red clamp to the positive terminal of the battery.
- Connect the Negative Clamp: Attach the black clamp to the negative terminal of the battery.
- Check Connections: Ensure a tight fit and that there are no loose wires.
- Turn On the Charger: Plug in and turn on the charger, following the manufacturer’s instructions.
Be cautious to avoid sparks during this process, and ensure that connections are secure to prevent accidental disconnections. You can also use editorial policy as the next practical guide.
Understanding Charging Methods: Smart Chargers vs. Standard Chargers
Choosing the right charger can significantly affect how efficiently and safely your battery charges. Here’s what you need to know.
Choosing the Right Charger
Smart Chargers: Automatically adjust the charging speed and monitor battery health. Standard Chargers: Require manual adjustment and lack monitoring features. Charging Modes: Many chargers offer specific modes for different battery types like AGM, lithium, or maintenance float. For official guidance on this, see Battery Council International.
Smart chargers tend to be more user-friendly and can help prolong the life of your battery by preventing overcharging. For related context, read disclaimer.
Wear eye protection, keep sparks and flames away from the battery, connect red to positive first, and make the final clamp to bare metal away from the battery. Never charge a frozen or visibly swollen battery.
Charging Time and Amperage: What You Need to Know
Understanding how charging time correlates to amperage settings is key for effective charging. Here’s a breakdown.
Estimating Charging Time
Charging time can vary based on the battery’s amp rating and the charger’s output. Here are some general guidelines:
- Standard Lead-Acid Batteries: 10-20 amps will take around 4-8 hours to charge fully.
- AGM Batteries: May require longer due to their design; expect 6-10 hours at 10 amps.
- Lithium Batteries: Often charge faster, around 1-2 hours, depending on the charger.
Keep in mind that charging time will change with different amperage settings, so adjust accordingly based on your battery type. You can also use terms conditions as the next practical guide.
Common Mistakes That Cause Battery Charging Failures
Even experienced DIYers can make mistakes when charging batteries. Here are common pitfalls to avoid.
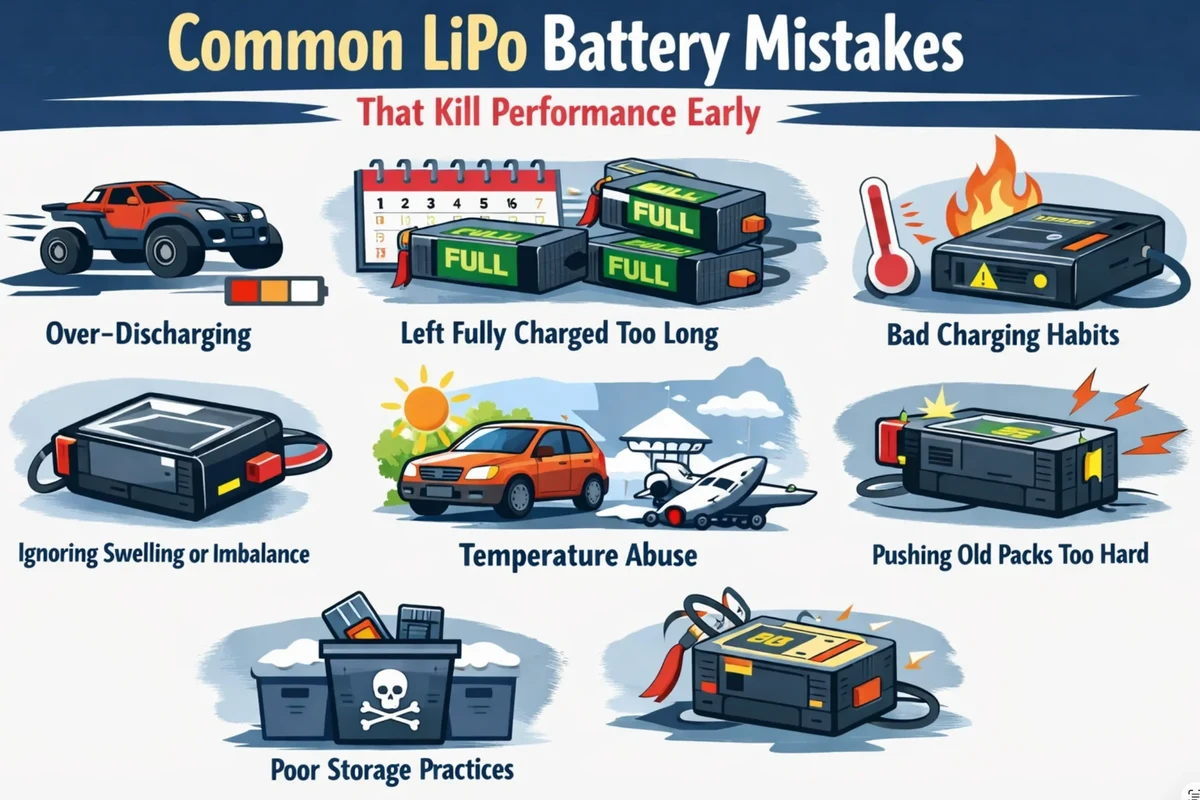
Avoiding Pitfalls
Incorrect Connections: Connecting clamps in the wrong order can cause sparks or damage. Ignoring Safety Protocols: Not wearing safety gear or failing to inspect the battery can lead to accidents. Using the Wrong Charger: Not matching the charger to the battery type can result in poor charging or damage.
Avoiding these mistakes can save you time and potential frustration, ensuring your battery charges efficiently and safely. For related risk checks, compare this with sitemap.
Garage Tip: Keep screenshots, receipts, and the manufacturer’s spec page so you can compare what was promised with what actually shows up in the box.
Confirming a Successful Charge and Next Steps
After charging, it’s essential to confirm the battery is ready for use. Here’s how to test it.
Testing and Maintenance
Once the battery has been charged, you should test it to ensure it’s functioning properly: For official guidance on this, see CPSC consumer product safety.
- Use a Multimeter: Set it to DC voltage and check the battery voltage. A fully charged battery should read around 12.6 to 12.8 volts.
- Check for Corrosion: Clean any residual corrosion from the terminals before reconnecting the battery.
If the battery doesn’t hold a charge or shows significantly lower voltage, it may need replacing rather than just recharging. You can also use affiliate disclosure as the next practical guide.
Cold Weather and Battery Behavior: Special Considerations
Cold weather can significantly affect battery performance and charging efficiency. Here’s how to manage it.
Charging in Extreme Conditions
When temperatures drop, take these precautions:
- Warm Up the Battery: If possible, bring the battery inside to warm it up before charging.
- Use a Battery Warmer: Consider using a battery warmer if you live in extremely cold climates.
- Monitor Charging: Cold batteries may take longer to charge, so be patient.
These steps can help ensure your battery charges effectively, even in frigid conditions.
You have the owner-manual spec, the right tools, a safe level place to work, and the job does not touch braking hydraulics, airbags, fuel, or high voltage.
The job needs a lift, special tools, or a safety-critical system you cannot verify, or the symptom keeps returning after the basic fix.
How to Charge a Car Battery Effectively at Home
Charging a car battery at home involves gathering essential tools and following a precise step-by-step process. Start by ensuring safety and compatibility by checking for damage and confirming your battery type.
Use the right charger, connect clamps correctly, and monitor the charging time based on amperage settings to ensure efficient charging.
Gather safety goggles, gloves, and a compatible battery charger. Inspect the battery for damage, corrosion, or leaks before charging. Connect the charger clamps in the correct order—positive first, then negative.
This guide on how to charge a car battery is general information. Specs, ratings, fitment, prices, and procedures can change, so confirm important points with your vehicle owner manual, the manufacturer, or the retailer before acting.
Common Questions
You will need a battery charger compatible with your battery type, jumper cables, a multimeter, safety goggles, and gloves. These tools help ensure the charging process is safe and effective.
Before charging, inspect the battery for damage, verify its type, and check for corrosion on the terminals. This preparation is crucial to ensure safety and efficiency during the charging process.
Start by ensuring the charger is off, then connect the red clamp to the positive terminal and the black clamp to the negative terminal. Double-check the connections for tightness before turning on the charger to prevent sparking.
Smart chargers automatically adjust the charging speed and monitor battery health, while standard chargers require manual adjustments and do not offer monitoring features. Smart chargers tend to be more user-friendly and help prolong battery life by preventing overcharging.
Avoid connecting clamps in the wrong order, as this can cause sparks or damage. Also, ensure you’re using the correct charger for your battery type to prevent poor charging or potential damage.
Use a multimeter set to DC voltage to check the battery voltage, which should read around 12.6 to 12.8 volts when fully charged. Also, inspect for any residual corrosion before reconnecting the battery.
The Bottom Line
Charging a car battery is a straightforward process when done correctly. By gathering the right tools, following safety protocols, and paying attention to the type of battery and charger, you can successfully charge your car battery at home.
If you face any issues or uncertainties, consulting a professional mechanic is always a wise choice.